
Views: 0 Author: Site Editor Publish Time: 2026-08-01 Origin: Site


Flexible packaging carries a dual mandate. It must visually differentiate your product on crowded retail shelves while maintaining absolute structural integrity to protect the contents inside. Brands scaling their packaging operations often face a bottleneck. They struggle to align SKU variability, production volume, and budget constraints with the correct printing method for a flat barrier pouch. Choosing the wrong application method leads to severe consequences. You risk compromised barrier layers, poor ink adhesion, or unviable production metrics.
Flat pouches offer a distinct structural advantage over stand-up pouches. They lack a bottom gusset. This flat footprint simplifies print registration. It improves web tension control during manufacturing and streamlines print-feed mechanics. These factors make the flat format inherently more cost-efficient and easier to print on. This guide objectively evaluates direct printing technologies and post-print applications. We analyze pouch configurations like 2-side, 3-side, and bottom-load formats, alongside agile alternatives, to determine the most technically sound approach for your specific production stage.
Volume Dictates Technology: High-volume runs (50,000+ units) heavily favor HD Flexographic printing for unit economics, while high-SKU, lower-volume runs are better served by digital printing.
Flat Format Advantages: Flat Barrier Pouches offer a more straightforward, uniform printing canvas than stand-up pouches, eliminating gusset-induced distortion and simplifying feed-through mechanics.
Material Architecture Matters: The outer layer of a flat barrier pouch (PET, Kraft, BOPP) dictates ink compatibility and thermal tolerance, directly impacting whether hot stamping or cold screen printing is viable.
Pre-Print vs. Post-Print: Reverse printing on rollstock before pouch formation offers superior quality and barrier protection compared to surface printing on pre-made blank pouches.
Agile Alternatives: For brands testing markets or managing extreme SKU fragmentation, applying custom sleeves and labels to stock flat barrier pouches minimizes upfront tooling costs and inventory risks.
You must understand the multi-layer construction of flexible packaging before selecting a print method. A standard pouch consists of three primary layers. The outer print substrate is usually PET, Kraft paper, or BOPP. The middle barrier layer typically utilizes aluminum foil (AL) or metalized polyester (VMPET). The inner sealant layer is often LLDPE. This architecture dictates how ink interacts with the pouch on the press.
There is a major difference between surface printing and reverse printing. Surface printing applies ink directly to the outside of the finished pouch. This leaves the ink exposed to scuffing, chemical exposure, and environmental wear during transit. Reverse printing applies ink to the inside of the clear outer layer before lamination. The ink becomes trapped between the outer layer and the middle barrier layer. This trapped ink method provides superior protection and a premium glossy finish that resists abrasion.
Structural formats directly impact the printable surface area. A 2-side seal pouch offers maximum edge-to-edge canvas. A 3-side seal pouch requires distinct dieline margins to account for the sealed edges. Bottom-load pouches change the orientation of the artwork during the filling process. Tamper-evident headers consume valuable vertical space. You must adjust your dielines to accommodate these physical constraints.
Identify the outer substrate material (PET, BOPP, or Kraft).
Determine the required barrier layer based on product sensitivity (AL or VMPET).
Select the appropriate sealant layer thickness for your filling equipment.
Map out the exact dieline, accounting for all seal zones and tear notches.
Applying heat during post-printing introduces significant structural risks. Hot stamping uses heat and pressure to apply metallic foils. This intense localized heat can cause delamination between the film layers. It can also compromise the interior foil barrier. You must carefully manage the thermodynamic trade-offs during production to avoid destroying the pouch's primary function.
Hot stamping achieves superior ink adhesion on laminated outer films compared to cold screen printing. However, excessive heat risks melting or puncturing the inner VMPET or AL layers. You must calibrate your equipment to apply enough heat for adhesion without penetrating the barrier substrate. Testing on the press floor is mandatory before running a full batch.
Establish strict baseline success metrics for barrier integrity. The printing process must result in zero degradation of the Oxygen Transmission Rate (OTR). It must also maintain the original Moisture Vapor Transmission Rate (MVTR). Any compromise in OTR or MVTR will shorten the shelf life of the packaged product.
Printing Method | Thermal Risk Level | Impact on OTR/MVTR | Adhesion Quality |
|---|---|---|---|
Reverse Inline Printing | Low | Zero Degradation | Excellent (Trapped) |
Hot Stamping | High | Potential Puncture Risk | High (Requires Calibration) |
Cold Screen Printing | Low | Zero Degradation | Moderate (Surface Dependent) |
Proper ink adhesion depends entirely on the surface energy of the flexible film. We measure surface energy in dyne levels. Most polymer films require a dyne level between 38 and 42 for optimal ink adhesion. If the dyne level is too low, the ink will bead up and flake off at the seal jaws. Converters often use inline corona treatment to raise the dyne level immediately before the film enters the print stations.
You must evaluate your curing methods carefully. UV curing offers rapid drying times and vibrant colors. LED curing uses less energy and generates less heat, protecting sensitive films from warping. Solvent-based curing requires thermal drying tunnels to evaporate the carrier solvents. Each method has distinct implications for food-grade compliance and line speed.
Migration risks are a primary concern in key end-use markets. Snacks, medical devices, and pet food require strict adherence to safety standards. Uncured ink components can migrate through the film layers and contaminate the product. You must use low-migration inks and ensure complete curing to meet regulatory requirements.
Inline printing occurs on wide-web film before the material is converted into pouches. The printing press applies graphics to massive rolls of laminated film. Once printed, the rollstock moves to a converting machine. The converter folds, cuts, and seals the film into individual pouches. This is the standard method for high-volume commercial production.
This approach offers significant technical advantages. You achieve true edge-to-edge bleed without unprinted margins. Reverse printing traps the ink safely beneath the outer layer. Inline printing also delivers higher registration accuracy across all seal zones. The artwork aligns perfectly with the sides and headers of the final pouch, eliminating the sloppy margins often seen in post-printed bags.
Load the unprinted outer web onto the press unwind stand.
Apply corona treatment to ensure proper dyne levels.
Print the reverse image onto the inner side of the outer web.
Laminate the printed web to the barrier and sealant layers.
Cure the laminated rollstock before sending it to the pouch converting line.
Buying blank pouches and printing over them presents a harsh logistical reality. Brands often attempt this using small-format digital printers or screen presses. You must manually feed each pouch into the printer. This process is labor-intensive and highly prone to alignment errors. It is generally only viable for extremely short runs or prototyping.
Specialized machinery exists for short-run, small-format pouches. You might use specialized digital envelope-style feeding presses. Technologies like Memjet or IJet can handle flat, pre-made barrier pouches. These systems use inkjet technology to print directly onto the surface of the pouch. They are useful for micro-batches where setup time must be minimized.
Physical limitations severely restrict post-printing. You cannot print over zippers, tear notches, or gussets. The print head requires a perfectly flat surface to avoid strikes and smearing. Registration challenges are constant, leading to high scrap rates. Throughput is drastically slower compared to inline rollstock printing. You must design your artwork with large safe zones to avoid these physical obstacles.
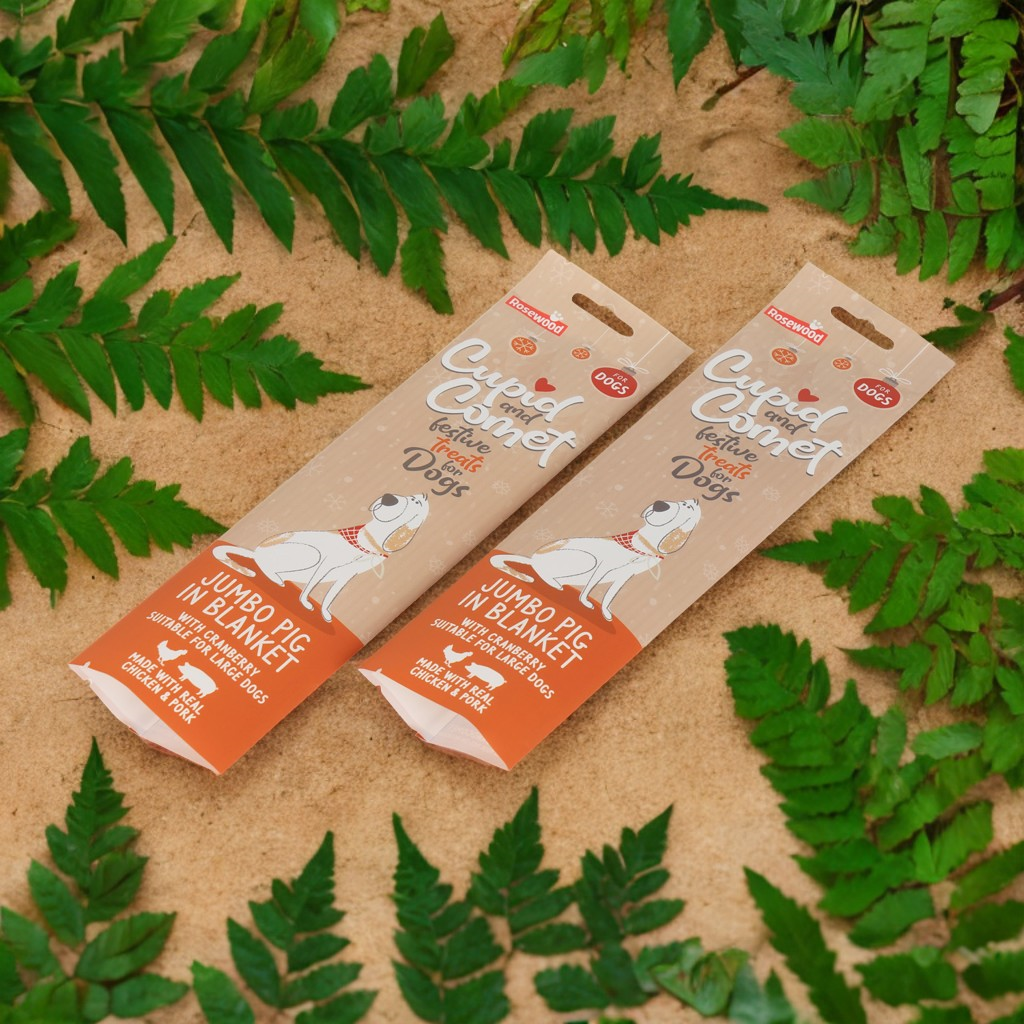
Digital printing is the best option for short to medium runs. It excels when managing high SKU counts and variable data. If you need rapid prototyping, digital is the clear choice. The technology operates much like a large office printer, applying CMYK ink directly to the film without the need for physical plates.
The primary advantage is the elimination of plate costs. You can change artwork files instantly without setup fees or press downtime. Digital delivers high-definition CMYK output with exceptional photographic quality. However, it has a higher cost-per-unit at scale compared to analog methods. Digital presses also run slower than flexographic presses, making them inefficient for massive national rollouts.
HD Flexographic printing dominates high-volume commercial runs. It is the industry standard for jobs requiring precise Pantone color matching. Flexo presses use flexible polymer plates to transfer ink onto the web film. The process is incredibly fast and efficient once the press is running, often exceeding 400 feet per minute.
This method requires a significant upfront investment in polymer plates. Each color requires a separate plate, which takes time to manufacture and mount. However, flexo offers the lowest per-unit cost at scale. It is vastly superior for applying metallic inks and specialty coatings. Flexo also produces crisp vector graphics and solid color blocks that digital struggles to match consistently across long runs.
Hot stamping and screen printing are specialized secondary processes. They are best for adding premium tactile elements to specific areas of a pouch. You might use them to apply a gold foil logo or a spot gloss varnish. These techniques elevate the perceived value of the packaging on the retail shelf.
You must navigate strict trade-offs when using these methods. Hot stamping offers better adhesion than cold screen printing on certain film substrates. However, it requires precise temperature calibration. If the die is too hot, it will compromise the pouch's laminated barrier layers. Screen printing is safer for the barrier but may lack the durability of stamped foil under heavy abrasion.
Sometimes direct printing is not the optimal strategy. You can apply printed paperboard or shrink sleeves over unprinted flat barrier pouches. The pouch provides the necessary oxygen and moisture barrier. The sleeve provides the branding and regulatory information. This modular approach separates the structural requirements from the marketing requirements, allowing you to change branding without altering the validated barrier package.
Using Custom Sleeves and Labels offers immense flexibility. It is highly beneficial for seasonal promotions or limited-edition flavors. You can execute regulatory text updates without discarding obsolete printed pouches. This strategy drastically reduces your printed film inventory and frees up working capital that would otherwise be tied up in warehouse stock.
You must analyze the financial threshold for labeling. Applying high-quality custom labels to stock pouches is highly viable for startups. It makes sense when you cannot meet the minimum order quantities for custom-printed pouches. Once your volume increases, direct printing eventually becomes more economical due to the elimination of secondary application labor.
Operational considerations dictate the success of a labeling strategy. You must choose between manual and automated label application. Manual application is slow and prone to crooked placement. You must also verify label material compatibility with the pouch surface. Edge-peel risks are high on textured outer layers like Kraft paper or matte PET. Always test the label adhesive on the exact pouch material before ordering a full roll of labels.
Production volume dictates your printing technology. You need a realistic framework for comparing overall production expenses. Digital printing offers a low minimum order quantity. You avoid plate fees, but you pay a high unit cost. Flexographic printing requires a high minimum order quantity. You pay hefty upfront plate fees, but you achieve a very low unit cost over long runs.
Printing Method | Ideal Volume | Upfront Costs | Unit Cost at Scale |
|---|---|---|---|
Digital | 1,000 - 10,000 | None | High |
HD Flexo | 50,000+ | High (Plates) | Low |
Labels on Stock | Under 5,000 | Low | Moderate (Labor) |
Implementation failures ruin production runs. Artwork shifting across the 2-side or 3-side seal areas is a common issue with Flat Barrier Pouches. If the artwork bleeds into the seal zone incorrectly, the pouch looks defective and unprofessional. You must implement strict mitigation strategies before approving a run on the press.
Always utilize proper dielines provided by your converter. Keep all critical text and logos within designated safe zones. These safe zones must remain far away from zippers, tear notches, and edge seals. You should always require physical press proofs before authorizing full-scale production. Never rely solely on digital PDF proofs, as they do not show how the ink will actually lay down on the physical film substrate.
Printing packaging for direct food or pharmaceutical contact carries heavy regulatory burdens. The chemicals in the ink and adhesives must not contaminate the product. You must address the necessity of low-migration inks. These inks are formulated to stay on the surface of the film and not bleed through the barrier layers into the food product.
You must also use FDA-compliant adhesives during the lamination process. If the adhesive fails, the pouch will delaminate, and the barrier will fail. Request compliance certificates from your packaging supplier. Ensure that the entire supply chain adheres to Good Manufacturing Practices (GMP) to avoid costly recalls.
The best printing option is strictly a function of production volume, SKU diversity, and physical material limitations. There is no single perfect method. You must align your packaging strategy with your current business stage. Choosing digital for massive runs wastes money. Choosing flexo for a ten-SKU market test wastes capital on plates.
Request physical material samples from multiple converters to evaluate print quality.
Verify the dyne levels of your chosen film substrates with your ink supplier.
Conduct a physical adhesion and barrier test before committing to a full production run.
Finalize your dielines, ensuring all critical artwork is within the safe zones.
A: Yes, but with severe limitations. You cannot print over zippers, tear notches, or edge seals. You must design artwork with large safe zones. This process requires specialized inkjet or screen equipment designed for flat feeding. Throughput is slow, and registration errors are common.
A: Surface printing applies ink directly to the exterior of the finished pouch, leaving it vulnerable to scuffing. Reverse printing traps the ink beneath a clear outer layer before lamination. This protects the graphics and provides a premium, durable finish.
A: It can. Hot stamping uses intense heat and pressure to transfer foil. If the equipment is not calibrated correctly, the thermal transfer can delaminate the film or puncture the inner VMPET/AL barrier layers. Precise temperature control is mandatory.
A: Labels are highly cost-effective for low volumes and variable SKUs. They eliminate plate fees and high minimum order quantities. However, as production scales, the labor and application costs eventually make direct-print methods more economical.
A: Pouch formats dictate your printable canvas. Seal widths, tear notches, and bottom-loading configurations reduce the available surface area. You must use precise dielines to ensure critical branding and text remain safely positioned away from these structural elements.
A: Specialized envelope-style digital feeder presses are recommended. Systems utilizing Memjet or IJet technology can handle flat, pre-made barrier pouches. These machines prevent feeding jams and apply inkjet graphics directly to the pouch surface for short runs.
A: Realistic industry benchmarks vary by technology. Digital printing often starts around 1,000 to 5,000 units per SKU. HD Flexographic printing typically requires much larger runs, starting between 10,000 and 25,000 units to offset the cost of polymer plates.

